


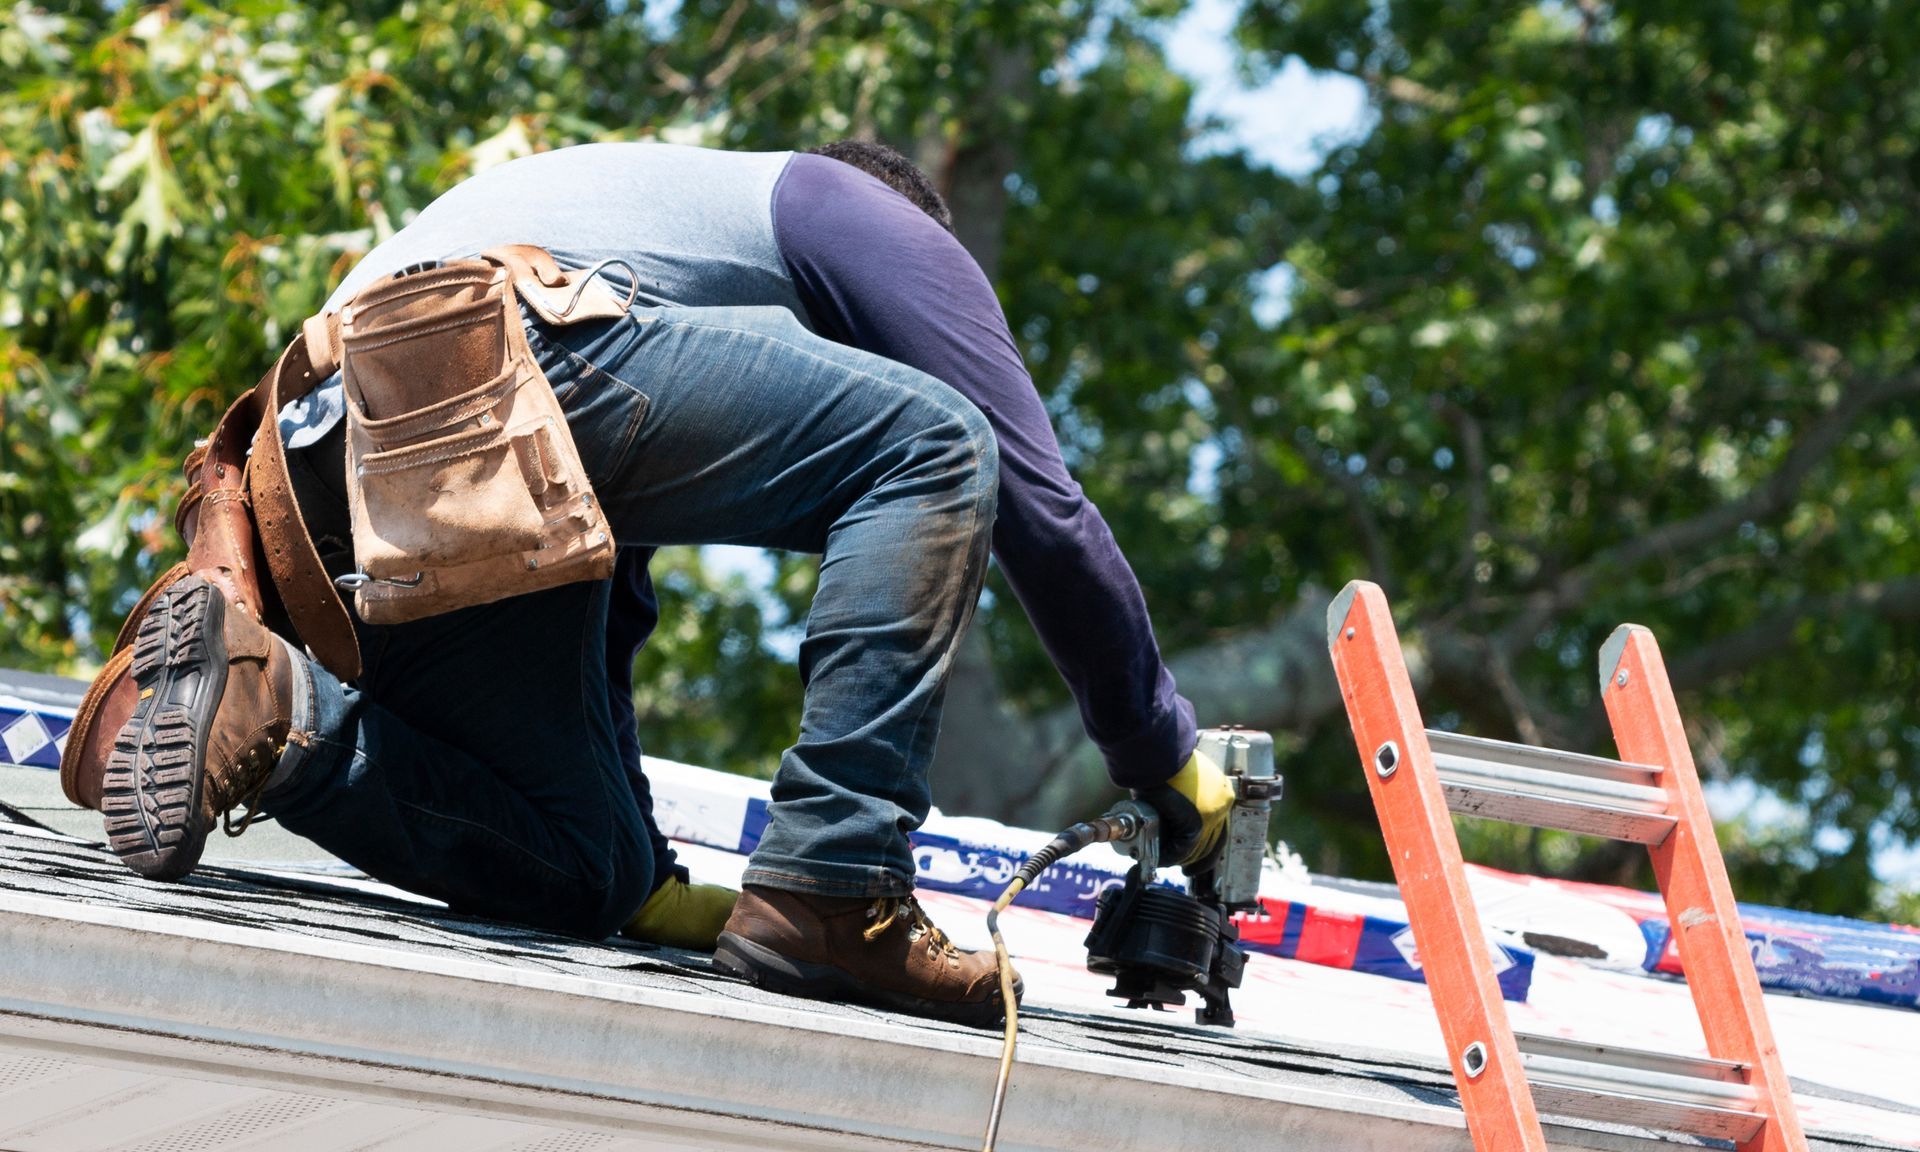
Tips for Hanging Christmas Lights on Your Roof: A Roofing Company’s Guide to Safety and Success
The holiday season is upon us here in western Massachusetts, and what better way to spread cheer than by decking out your home with beautiful Christmas lights? However, when it comes to hanging lights on your roof, there are a few important factors to consider, safety being the most crucial. As a roofing company, we've seen firsthand how improper installation can lead to accidents or even costly roof damage.
To help you get your holiday display up safely and successfully, we've put together these tips for hanging holiday lights on your roof.
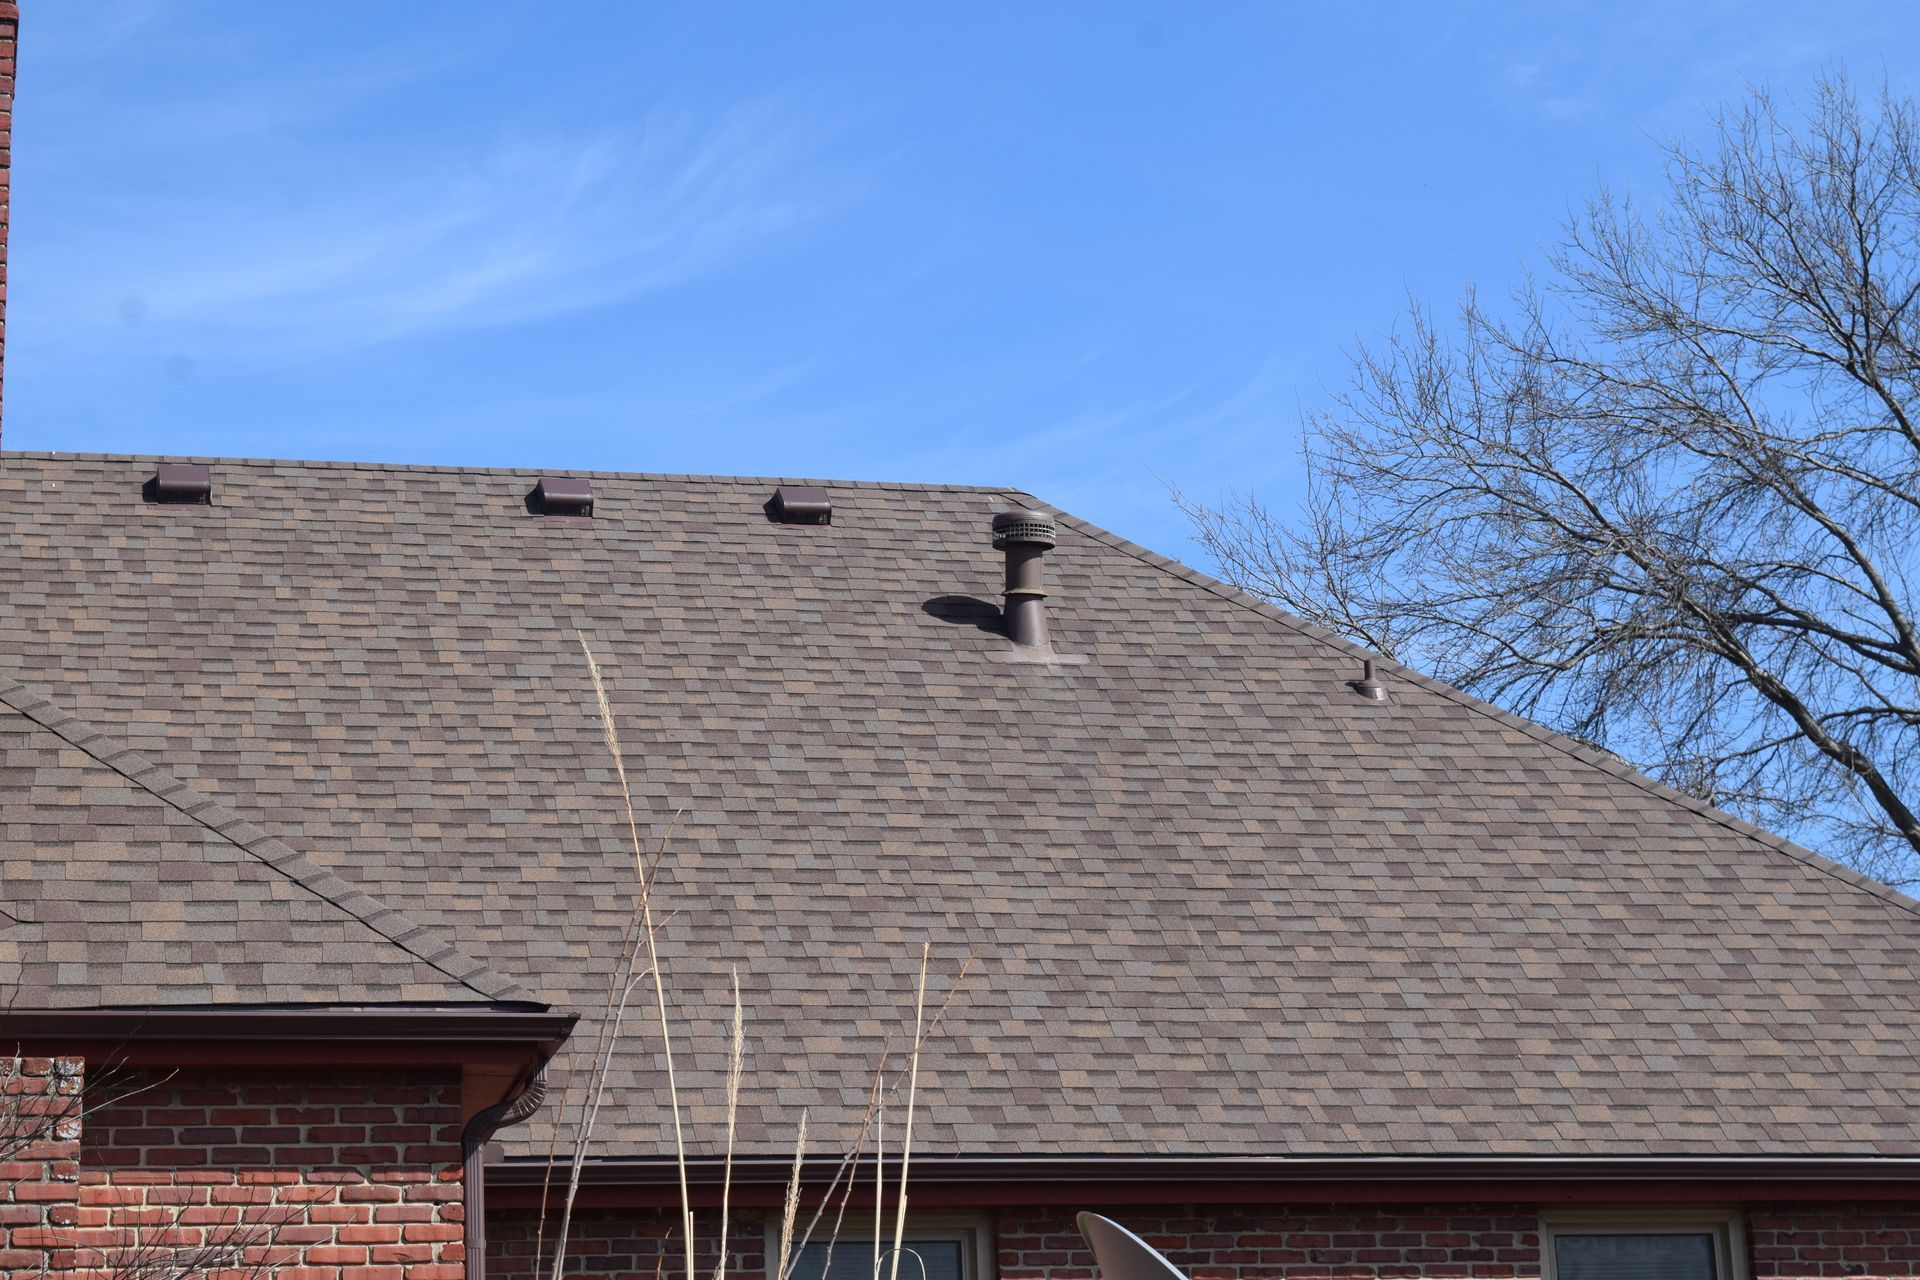
Inspect Your Roof Before You Start
Before you climb up to hang lights, inspect your roof. Look for loose shingles, damaged gutters, or areas that could pose a risk during installation. If you notice any potential issues, it's best to address them before you try to hang lights. Damaged roofing materials or loose flashing can become even more problematic when handling wires or hooks.
Pro Tip: If you need clarification on the condition of your roof, consider having a professional inspection to ensure it's in good shape for the holidays.
Use the Right Tools and Equipment
Safety should always come first; having the right tools can make all the difference. When installing Christmas lights, you'll need:
Ladder: A sturdy ladder is essential for safely accessing your roof. Ensure it's tall enough to reach the eaves and securely positioned on level ground. Never lean your ladder against the gutters; they're not designed to bear weight.
Christmas Light Clips: Avoid using nails, staples, or screws to attach lights to your roof. These can damage your shingles, which may lead to leaks. Instead, you can use specialized Christmas light clips that easily attach to the roof's edge or gutters without causing any harm.
Extension Cord: Ensure your extension cords are rated for outdoor use long enough to reach the nearest electrical outlet. This will keep you from needing to use excessive or unsafe cord extensions.
Safety Gear: If you are on a steep roof, consider wearing a safety harness or rope to secure yourself. Slips and falls are a leading cause of injury during the holidays, and a safety harness can provide peace of mind.
Plan Your Light Design Before You Start
Having a clear plan in mind will make the whole process easier. Decide in advance whether you want a simple outline of the roofline or a more intricate display that includes windows, doors, and trees. Measure the areas where you plan to place lights and choose lights that are the right length.
Pro Tip: Consider using LED lights, which are energy-efficient, long-lasting, and safer than traditional incandescent bulbs. They emit less heat and are less likely to overheat, reducing the fire risk.
Test Your Lights Before You Hang Them
Before you hang your Christmas lights, you can test each strand to make sure all bulbs work. This will save you time and frustration once you're on the roof. If a strand of lights is faulty, it's better to know beforehand than to find out halfway through the installation.
Take Your Time with Installation
When you're ready to hang your lights, take your time and don't rush. Start at one end of your roofline and work across, using your clips to secure the lights every few inches. Keep the lights tight enough, as this could cause them to snap or create tension that may damage them.
Attach the lights securely, especially if you live in an area with strong winds or heavy snow. Consider using extra clips or zip ties in regions that experience higher winds or where the lights are incredibly long.
Avoid Damaging the Roof
One of the most common mistakes people make when hanging Christmas lights is damaging their roofs. To avoid this, NEVER use nails, staples, or screws to attach your lights. These can puncture your shingles, leading to water damage. Instead, opt for light clips designed for easy attachment and removal, which will not harm your roofing materials.
Pro Tip: If you have gutters, please make sure the lights are attached to the roofline and not directly to the gutters. Gutters are not designed to support the weight of Christmas lights, and the added strain could cause them to become detached.
Use a Timer for Convenience
Once your lights are up and running, you can use a timer to avoid the hassle of turning them on and off every night. Many outdoor timers allow you to set a specific time for your lights to turn on and off automatically, saving energy and effort.
Take Care of Your Lights After the Season
Once the holidays are over, carefully remove your lights and store them properly to avoid damage. When removing your lights, be gentle with the clips and wires, as yanking them off too forcefully could cause them to break or become tangled. Store the lights in a cool, dry place to ensure they stay in good condition for next year.
Consider Professional Help
Hiring a professional is always good if your roof is steep or high or you are uncomfortable with the installation process. Roofing companies often offer holiday light installation services to ensure everything is safely and securely set up. Professional installers have the experience, tools, and safety equipment to do the job efficiently and without risk.
Hanging Christmas lights on your roof can be a fun and festive activity, but it's essential to approach it with safety and care. By following these tips, you can ensure your home looks merry and bright while protecting your roof and avoiding unnecessary accidents. And remember, if you ever feel unsure, a professional roofing company can inspect the roof before and after. Happy holidays, and enjoy your beautifully lit home!
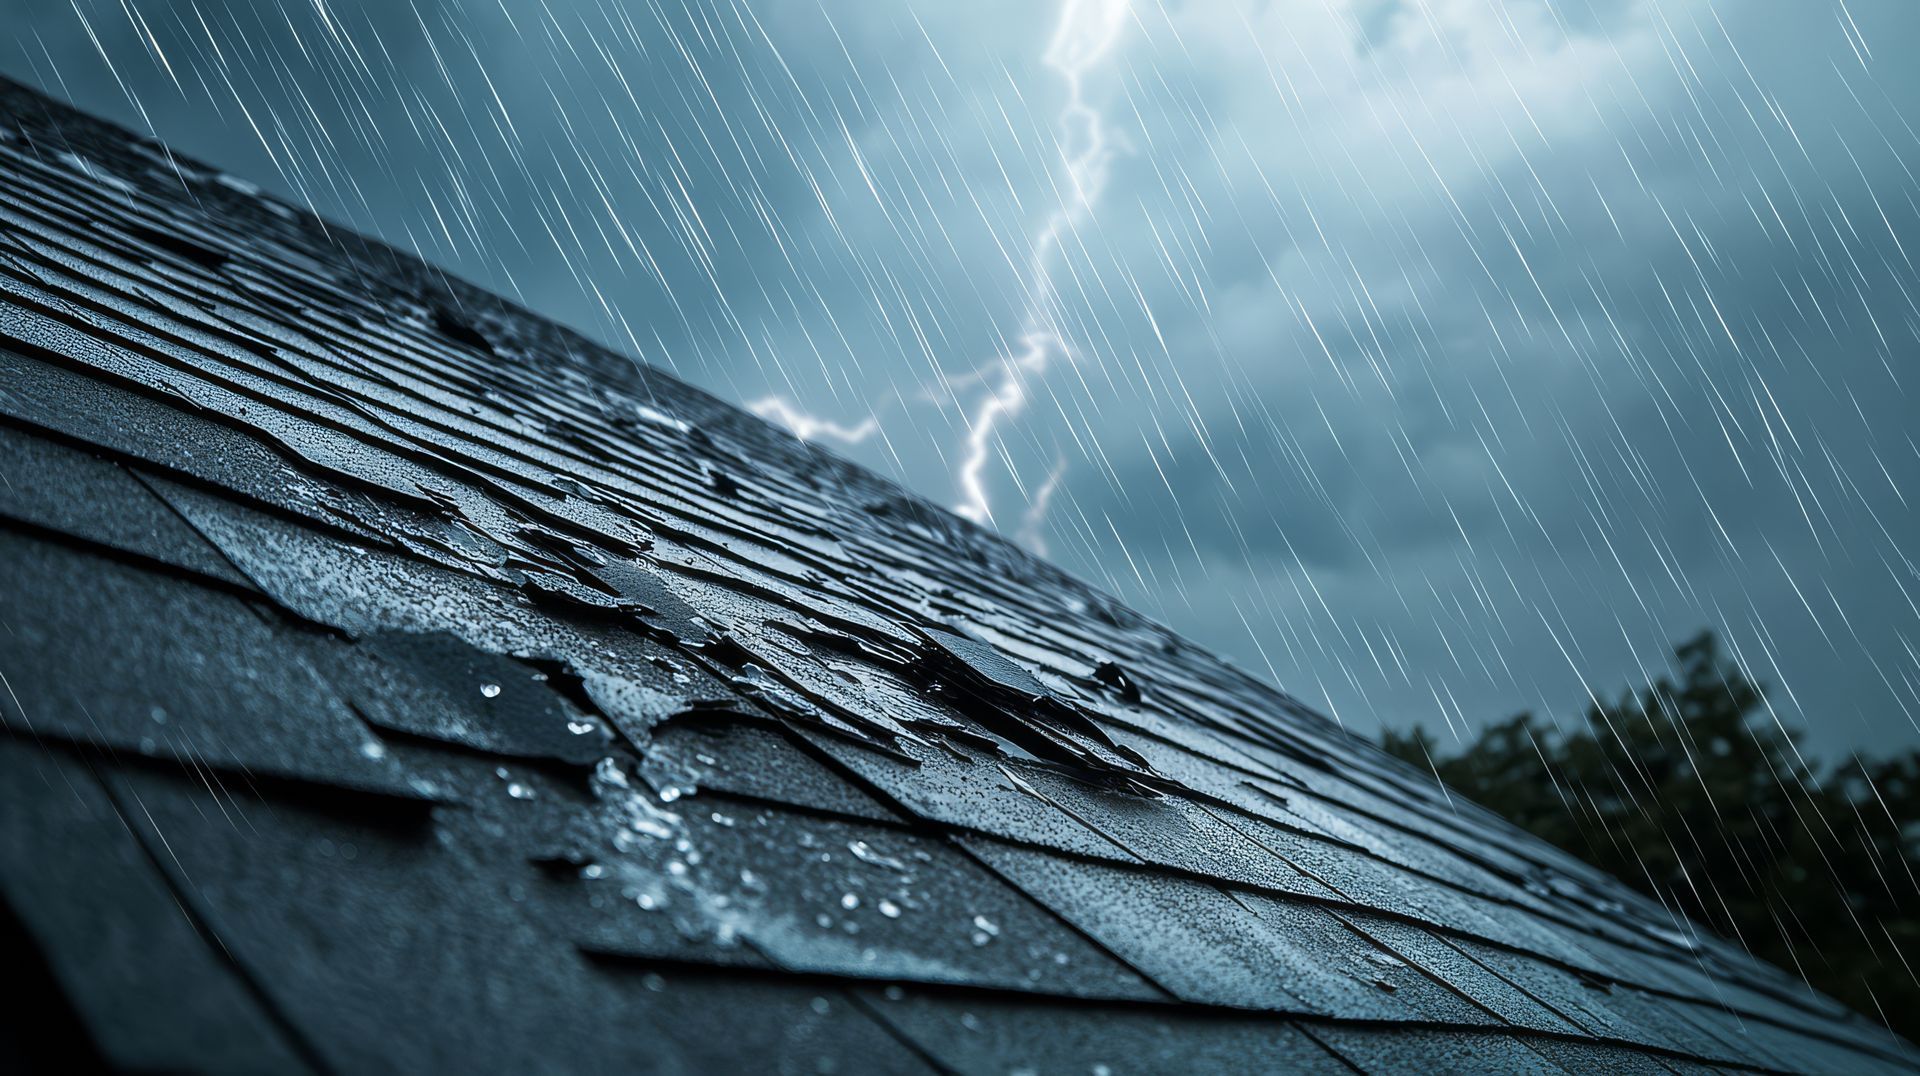
How Storm Damage Can Affect Your Roof: What to Do Next
How to Enhance Curb Appeal with New Siding from Sexton Roofing & Siding
The body content of your post goes here. To edit this text, click on it and delete this default text and start typing your own or paste your own from a different source.
If you're a homeowner in Western Mass., you know how harsh our winters can be. As homeowners ourselves, we get it. From snowstorms to freezing temperatures, your roof takes a beating. But now that spring is around the corner, it's time to show your roof a little TLC. Properly maintaining your roof after winter can help prevent costly repairs and keep your home safe and cozy. To help you, we put together a Spring Roof Maintenance Checklist to help you get started. Let's dive in! 1. Inspect for Winter Damage First, you'll want to inspect your roof for any visible damage that might have occurred during the winter. Snow and ice can cause shingles to lift, crack, or even break off. Look for: Missing or damaged shingles : Ice dams, snow buildup, or high winds could have pulled shingles off or caused them to crack. If you notice any, they'll need to be replaced. Granule loss : Shingles can lose granules over time due to age or ice damage. Check for piles of granules in your gutters or around the base of your home. Cracked flashing : Flashing, the metal that seals areas where the roof meets walls, chimneys, or skylights, can crack or lift over the winter, leading to leaks later on. If you spot any of these issues, contacting a professional roofer like Sexton Roofing and Siding is essential to get them fixed promptly. 2. Clean Your Gutters and Downspouts Winter weather can leave your gutters clogged with debris, ice, and leaves. Clogged gutters can cause water to back up,leading to leaks and even water damage inside your home. To prevent this, clean your gutters and downspouts thoroughly. If you're uncomfortable doing this yourself, call us, and we'd be happy to help! Water must flow freely from your roof and away from your home to avoid damaging your foundation and landscaping. 3. Check for Ice Dams Ice dams are a common issue for homes in Western Massachusetts. When snow melts on your roof, the water can freeze at the edge, forming an ice dam. This dam can trap water and lead to leaks in your home. After the winter season, check the eaves and gutters for any signs of ice dams. If you find any, taking care of them is essential. A professional roofer can help remove ice dams safely and offer advice on preventing them next winter. 4. Examine Attic Ventilation and Insulation Proper attic ventilation is key to preventing ice dams and other roof issues. Poor ventilation can lead to heat buildup, which melts the snow on your roof, causing the dreaded ice dams. Also, check your attic insulation to make sure it's in good condition and properly installed. If your attic insulation is inadequate, you could be wasting energy—and your home could be at risk for moisture buildup and mold. 5. Trim Overhanging Branches Spring is the perfect time to trim any trees or branches that are hanging over your roof. Winter storms and high winds can bring down branches that can damage your shingles or gutter system. Trimming branches now can prevent future damage and keep your roof looking great. 6. Look for Signs of Leaks Inside Sometimes, the damage on your roof isn't immediately visible from the outside. Check the ceilings and walls of your attic and upper floors for signs of water stains or discoloration, which could indicate a roof leak. Don't forget to check areas around chimneys, skylights, and vents, which are common spots for leaks to develop. If you find water damage, it's time to call a professional roofer for a more thorough inspection. 7. Schedule a Professional Roof Inspection While DIY inspections are a great start, having a professional roofer like Sexton Roofing and Siding take a closer look is always a good idea. A licensed roofer can spot potential issues that may not be immediately apparent and ensure your roof is in top condition for the upcoming seasons. Getting a spring inspection is especially important if your roof is older or if you haven't had an inspection in a while. A professional can provide peace of mind and help catch problems early before they become expensive repairs. 8. Keep Your Roof Clean Winter can leave your roof covered with debris, moss, and algae. Spring is the perfect time to clean your roof well (with help from a pro). Keeping your roof clean can help prevent long-term damage and keep it looking its best. 9. Consider Roof Upgrades If your roof is nearing the end of its lifespan or if you've had ongoing issues, spring is a great time to consider upgrades. Whether you're considering new shingles, better insulation, or even solar panels, Sexton Roofing and Siding can help you explore your options. A new roof can boost your home's curb appeal and energy efficiency, both of which are worth considering. 10. Take Care of Your Siding and Exterior While you're checking your roof, remember to check your siding, gutters, and downspouts. Winter can be tough on your home's exterior, and spring is the time to give everything a good check-up. Repairing or cleaning your siding and gutters can keep your home in great shape for the warmer months ahead. Spring is a fresh start, and taking care of your roof is an important part of preparing your home for warmer weather. Regular maintenance and prompt repairs can extend the life of your roof and prevent costly problems in the future. Sexton Roofing and Siding is here to help with roof maintenance needs. Don't hesitate to call us for a spring roof inspection or if you have any questions about roof maintenance. We're here to ensure your roof stays strong and reliable for many years to come. Here's to a safe and sunny spring season ahead! Sexton Roofing and Siding Proudly serves Western Massachusetts for all your roofing, siding, and home improvement needs.

Women in Construction: My Journey into a Traditionally Male-Dominated Industry
When it comes to improving their homes' energy efficiency, most homeowners focus on insulation, windows, or doors. But one key factor that often gets overlooked is roof ventilation. Roof ventilation plays a significant role in maintainingyour home's temperature, reducing energy costs, and preventing potential damage to your roof and attic. In this blog post, we'll dive into the importance of roof ventilation, how it affects your home's energy efficiency, and why ensuring that your ventilation system is working correctly is crucial. What is Roof Ventilation? Roof ventilation involves the intake and exhaust vents system in your roof, allowing air to flow freely through your attic space. The intake vents are usually located at the soffits (under the eaves of your roof), and the exhaust vents are found at or near the roof's ridge. This continuous flow of air helps regulate temperature and moisture levels in your attic. Proper roof ventilation prevents hot air, moisture, and humidity from accumulating in your attic, which can lead to a host of issues, such as mold growth, wood rot, and increased energy costs. How Roof Ventilation Affects Energy Efficiency Now that we understand what roof ventilation is let's explore how it directly impacts your home's energy efficiency: 1. Regulates Temperature in the Attic Your attic can get extremely hot in the summer months without proper ventilation due to trapped heat. This heat can then radiate into your living spaces, making your air conditioner work overtime to keep your home cool. On the flip side, in the winter, poor ventilation can cause warm air from your home to rise into the attic, where it can cool down, potentially leading to condensation issues. With a properly ventilated roof, hot air is exhausted in the summer, and warm air is kept from escaping in the winter. This helps maintain a stable and comfortable temperature in your home without putting excess strain on your HVAC system. As a result, your energy consumption and energy bills are reduced. 2. Prevents Ice Dams In cold climates, improper roof ventilation can contribute to the formation of ice dams. Ice dams occur when warm air inthe attic melts snow on the roof, causing the water to run down to the eaves, where it refreezes. This ice buildup can block water from draining off the roof properly, leading to leaks, roof damage, and potential water damage inside your home. Proper ventilation helps to keep the attic temperature more even, preventing snow from melting. This helps protect your roof and gutters and prevents costly repairs and energy inefficiencies associated with ice dams. 3. Reduces Humidity and Moisture Buildup Excess moisture in your attic is another factor that can drive up your home's energy costs. Moisture can accumulate from everyday activities like cooking, showering, or even breathing, and without adequate ventilation, it can lead to problems like mold, mildew, and wood rot. When this happens, your heating system may need to work harder to maintain a comfortable indoor climate, ultimately increasing energy use. A well-ventilated attic allows moisture to escape, maintaining a dry environment and ensuring your insulation remains effective. When your insulation is dry and intact, it performs better at regulating temperature, which helps keep your energy bills in check. 4. Improves Insulation Effectiveness Proper attic ventilation and insulation go hand in hand. Insulation is meant to keep the desired temperature inside your home, but it can't perform at its best if there is excessive heat or moisture buildup in the attic. Proper ventilation helps ensure that your insulation stays dry and practical, improving your home's overall energy efficiency. In the winter, if your attic gets too warm, your insulation can lose its effectiveness in keeping your home warm. In the summer, inadequate ventilation can make your insulation less effective at keeping the heat out. So, ventilation and insulation must work together to create an energy-efficient barrier. 5. Enhances the Lifespan of Your Roof Proper ventilation affects energy efficiency and extends the lifespan of your roof. By reducing moisture buildup, preventing ice dams, and reducing heat damage to roofing materials, a well-ventilated roof system ensures that your roof stays in good condition for longer, avoiding costly repairs or replacements. Signs That Your Roof Ventilation Needs Attention If you're noticing any of the following signs, it may be time to check your roof ventilation system: Higher Energy Bills : If your cooling and heating costs are higher than expected, it could be due to poor attic ventilation. Hot Attic: A hot attic in the summer (more than 10-15 degrees higher than the outside temperature) may indicate inadequate ventilation. Moisture or Condensation in the Attic: If you see water droplets on your attic windows or walls or notice mold or mildew, your attic may be too humid. Ice Dams in Winter: If you've noticed ice dams forming on your roof during winter, it's a sign that your attic isn't properly ventilated. Sagging or Warping Roof Decking: Excessive heat and humidity can cause your roof decking to warp. This could be a result of poor ventilation. How to Improve Your Roof's Ventilation If you're concerned about your home's roof ventilation, here are a few steps you can take to improve it: Install Soffit Vents: These allow fresh air to enter the attic, promoting proper airflow. Add Ridge Vents: These vents allow hot air to escape from the attic, preventing heat buildup. Consider Attic Fans: In some cases, an attic fan can be added to help circulate air and maintain a steady flow of fresh air. Check Existing Vents: Ensure your intake and exhaust vents are unobstructed and functioning correctly. We believe that roof ventilation is essential for maintaining an energy-efficient home. Proper ventilation helps your roof perform at its best by regulating temperature, reducing moisture, and preventing ice dams, keeping your home comfortable and your energy bills low. If you suspect that your roof ventilation needs attention or want to ensure that your home is as energy-efficient as possible, contact us for a free roof inspection. Our team of experts will assess your attic ventilation system and provide recommendations to improve your home's overall energy efficiency.
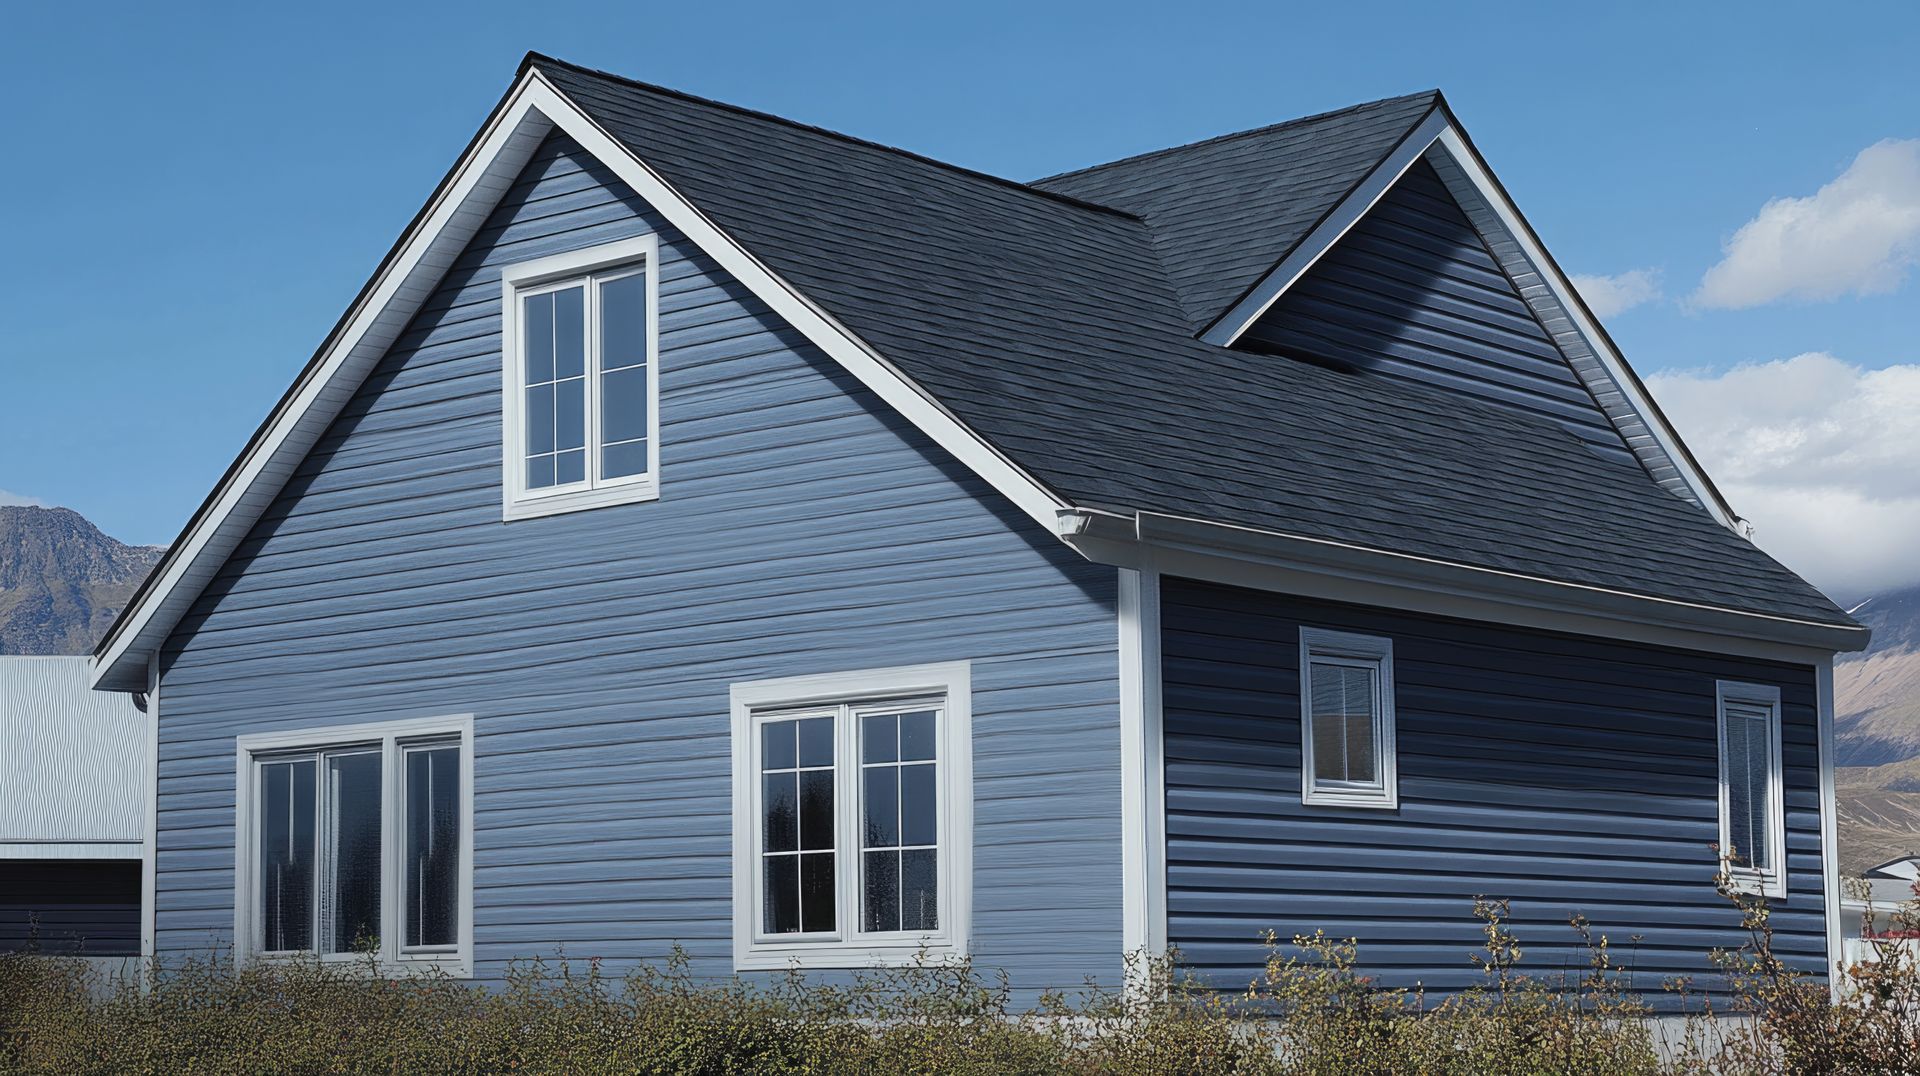
As winter's chill sets in, your home's energy efficiency becomes more critical than ever. With temperatures dropping and energy bills rising, homeowners are looking for ways to improve their home's insulation and keep the cold at bay. Insulated siding is one of the best investments for your home's energy efficiency this winter. We understand the importance of a well-insulated home. Insulated siding provides several key benefits that help you protect your home, save money, and stay comfortable through the harsh winter months in western Massachusetts. Here are the top benefits of insulated siding and why you should consider upgrading this winter: 1. Improved Energy Efficiency Providing an extra barrier against the cold helps reduce heat loss, keeping warm and cold air inside. This results in less strain on your heating system, lowering energy bills during winter. Investing in insulated siding allows you to create a more energy-efficient home without completely overhauling your insulation. The added insulation reduces the energy required to heat your home, saving you significant money over time. 2. Better Temperature Regulation During the winter months, the goal is to keep your home warm without overworking your furnace. Insulated siding stabilizes your home's internal temperature. It helps prevent the fluctuation of hot and cold air, which can occur when external temperatures drop. It helps keep your home at a comfortable temperature all day, reducing the need for constant heating adjustments. On the flip side, insulated siding also works in the summer, helping to keep your home cool by preventing heat from entering. So, it's an investment that works year-round! 3. Enhanced Comfort Drafts and cold spots are common issues in homes with poor insulation. Insulated siding helps eliminate those chilly drafts by sealing gaps and providing even insulation throughout your walls. This means fewer drafts around windows and doors and a more comfortable home overall. 4. Soundproofing Qualities Winter storms often bring their own noisy challenges—wind, rain, or even snow hitting your walls. One of the added benefits of insulated siding is its ability to dampen outside noises. The foam core is a barrier that helps absorb sound so your home remains quiet and peaceful even during the loudest winter storms. Whether it's a howling wind or the sound of snow settling on your roof, insulated siding keeps your home's interior calm and serene. 6. Increased Home Value and Curb Appeal Insulated siding is great for your home's energy efficiency and can also boost its curb appeal and value. Available in a variety of styles and colors, insulated siding can enhance your home's appearance while offering long-term protection against the elements. When it's time to sell your home, energy-efficient siding can stand out to potential buyers looking for energy-saving features and lower long-term maintenance costs. 7. Low Maintenance Unlike traditional siding materials that may require frequent upkeep, insulated siding is designed for durability and minimal maintenance. It resists warping, fading, and cracking, common issues with older siding materials. It also doesn't require frequent painting or sealing, saving you time and money in the long run. 8. Environment Friendly Insulated siding is often made from environmentally friendly materials and can contribute to a greener home. The added insulation reduces the need for excessive heating, lowering your carbon footprint. Additionally, the materials used in many insulated siding products are recyclable, further minimizing your environmental impact. Investing in your home's exterior is one of the smartest decisions you can make, especially regarding winter efficiency. If you're ready to make your home more energy-efficient this winter, contact Sexton Roofing & Siding for a free consultation. Our team of experts can help you choose the right siding solution for your home, ensuring you're ready to face the cold with comfort and savings.
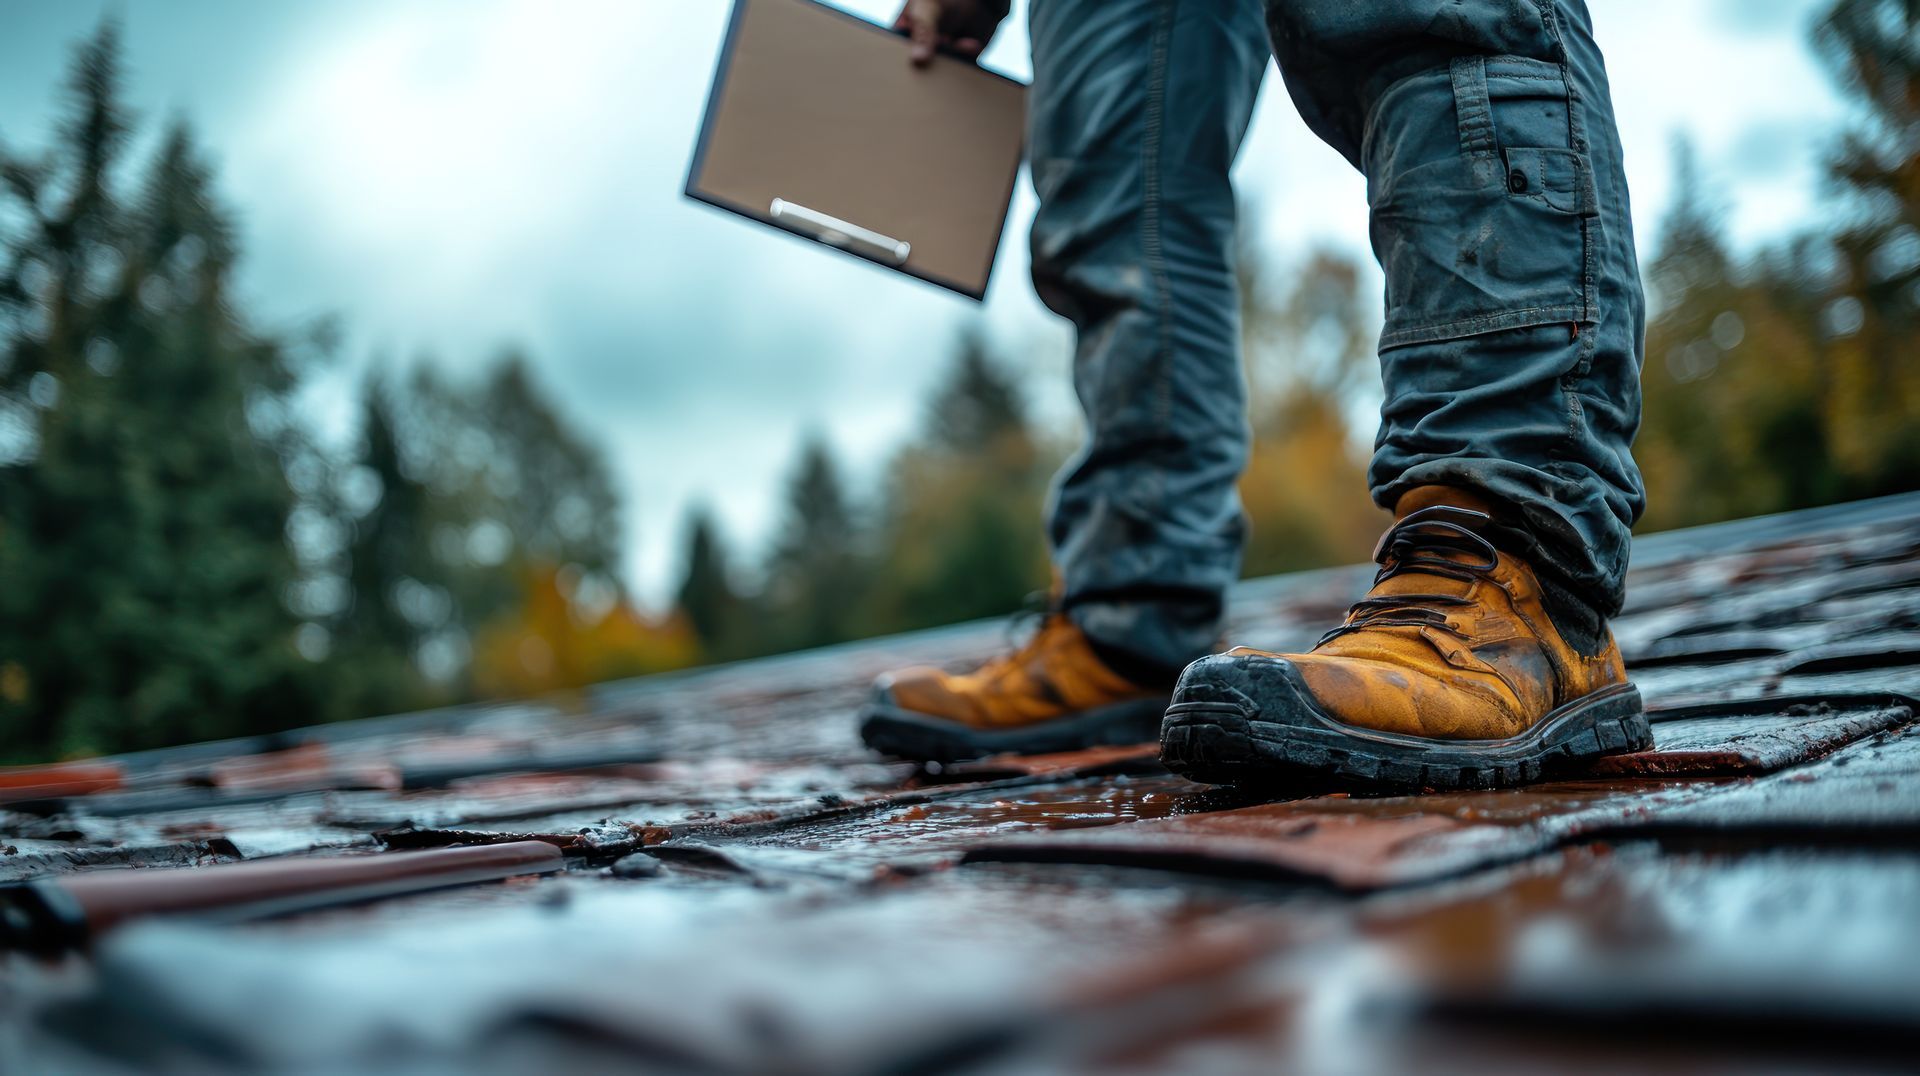
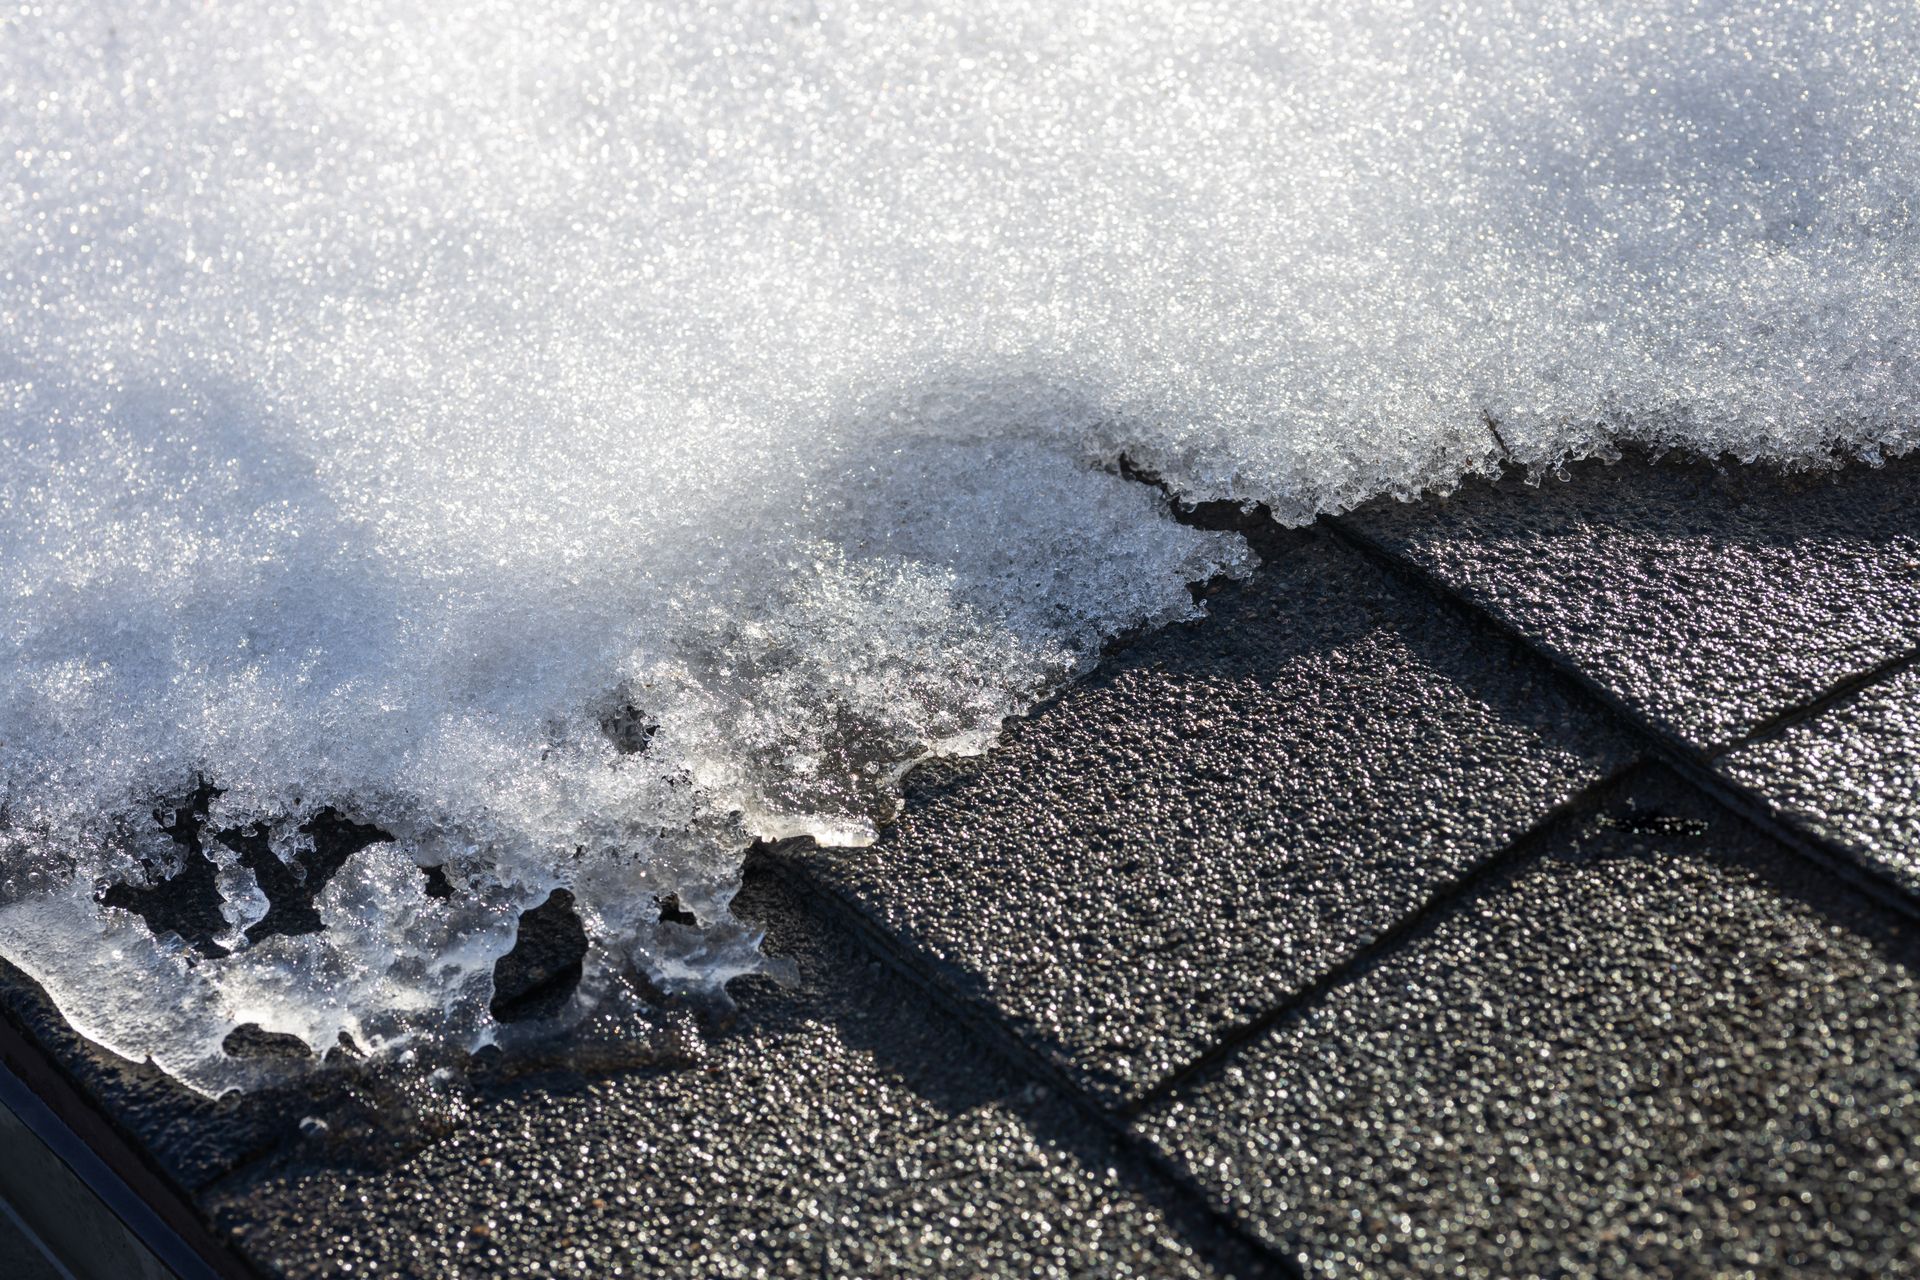
Winter is a beautiful season here in the Pioneer Valley, with snow-covered landscapes and cozy evenings by the fire. However, the cold, snow, ice, and high winds that define our winters can be harsh on your roof. While many homeowners wait until spring to inspect their roofs, doing so in the winter can proactively catch potential issues early before they lead to more serious and expensive problems. At Sexton Roofing & Siding, we believe that winter roof inspections are essential for maintaining the health of your roof and protecting your home from the elements of winter. In this blog, we'll explain why they are necessary, what you should look for, and how to ensure your roof stays in good shape throughout the season. Why Winter Roof Inspections Matter Winter weather in Western Massachusetts can be brutal on your roof, and damage that goes unnoticed during the colder months can snowball into significant issues when spring rains arrive. Here's why winter roof inspections are so crucial: Early Detection of Ice Dams Ice dams are one of the most common winter roofing problems. They form when melting snow on your roof refreezes at the eaves, creating a barrier of ice that prevents water from draining correctly. This trapped water can seep into your home, causing leaks, water damage, and mold growth. Inspecting your roof during the winter, especially after a storm, you can hopefully catch early signs of ice dams and take steps to address them before the damage becomes severe. This might involve clearing gutters, improving attic insulation, or getting professional help to remove any existing ice buildup. Preventing Further Damage from Snow and Ice Heavy snow accumulation can put a lot of weight on your roof. If you have existing roof damage, such as cracked shingles or loose flashing, the added weight from snow and ice can worsen the issue, leading to leaks or even roof collapse in extreme cases. A winter inspection allows you to identify weak spots before the snow piles up, preventing further damage and protecting your home from costly repairs down the road. Protecting Your Home's Insulation Did you know that if your roof isn't in good shape, it can affect the insulation in your attic? Gaps, leaks, or cracks can allow warm air inside your home to escape, leading to higher heating bills. Ice dams and water infiltration can soak your attic insulation, reducing effectiveness. By doing a roof inspection, you can address any leaks or weaknesses before they cause insulation damage, ensuring your home stays energy-efficient during the cold months. Peace of Mind Winter can be stressful enough without worrying about the state of your roof. A thorough inspection offers peace of mind, knowing that you've taken the necessary steps to keep your home safe and dry during the worst of the season. Plus, addressing minor issues early can prevent them from becoming major headaches. What to Look for During a Winter Roof Inspection If you're planning to inspect your roof during the winter months, here are the key areas to focus on: Gutters and Downspouts Clogged or damaged gutters can cause many problems, including ice dams. If snow and ice can't flow freely through your gutters, water can back up and seep under your shingles, causing leaks. What to look for: Check for debris, ice, or icicles hanging from your gutters. Ice buildup along the gutter line indicates poor water drainage, possibly leading to ice dam formation. Shingles and Roofing Materials Your shingles are your first line of defense against the elements. Wind, snow, and ice can loosen or damage shingles, leaving your roof vulnerable to leaks and water infiltration. What to look for: From the ground, inspect your roof for missing or damaged shingles. Look for curling, cracked, or brittle shingles, as these can indicate that your roof is nearing the end of its lifespan. If you notice any issues, it's best to contact a professional to assess the extent of the damage. Flashing Around Roof Features Flashing is the metal material that seals roof joints around chimneys, vents, and skylights to prevent water from getting underneath your roof. Snow, ice, and wind can damage flashing, leading to leaks. What to look for: Check the flashing around chimneys, skylights, and other roof penetrations for signs of rust, damage, or gaps. Loose or damaged flashing can allow water to seep into your home, leading to mold and water damage. Ice Dams and Snow Buildup As mentioned earlier, ice dams are a common winter roofing issue. Heavy snow accumulation can also significantly weight your roof, leading to structural problems if left unchecked. What to look for: Check the edges of your roof for signs of ice buildup, such as icicles hanging from the eaves or areas where snow is not draining correctly. Removing some of the snow may be necessary to alleviate pressure on your roof if you notice significant snow buildup. Attic Insulation and Ventilation Proper attic insulation and ventilation are critical to preventing ice dams and ensuring your home stays warm and energy-efficient. Warm air from your home can melt snow on the roof without adequate airflow, refreezing at the eaves and leading to ice dams. What to look for: If you have access to your attic, check for signs of air leaks or inadequate insulation. You should also ensure proper ventilation to keep the temperature consistent. Signs of Leaks Leaks often start as minor, hard-to-notice issues, but if left unaddressed, they can lead to costly water damage and mold growth, which is harmful to your health. What to look for: Inside your home, inspect your ceilings and walls for water stains, drips, or dampness, particularly in the attic and upper floors. A roof leak could need immediate attention if you see any of these signs. How to Safely Inspect Your Roof During Winter Roof inspections in winter should always be approached with caution. Snow and ice can make roofs slippery, and the cold weather can increase the risk of falls. Here are some tips for conducting a safe winter roof inspection: Use Binoculars : If you're uncomfortable going up on the roof yourself, you can use binoculars to inspect your roof from the ground. This allows you to see most issues, such as missing shingles or signs of ice dams, without the risk of climbing. Stay Grounded : If you get up on the roof, have a sturdy ladder and wear proper safety gear. Always use a harness and make sure the ladder is on level ground. Call a Professional : If you notice any issues during your inspection, it's best to contact a professional roofing company. They have the tools and experience to address roof problems, particularly in challenging winter conditions safely. Winter roof inspections are an essential part of home maintenance in Western Massachusetts. By checking your roof for signs of damage, ice dams, and other issues, you can prevent costly repairs and ensure your home remains safe and dry throughout the winter season. At Sexton, we specialize in roof inspections, repairs, and replacements in Western Massachusetts. Our team is experienced in dealing with the challenges of winter roofing and can help you identify and address potential problems before they become more significant. Contact Us Today for a Winter Roof Inspection!

Winter in Western Massachusetts can be brutal at times. With heavy snow, ice, wind, and fluctuating temperatures, your roof is subjected to extreme conditions that can cause significant wear and tear. As we near the end of winter, inspecting your roof for any damage that may have occurred during the colder months is essential. Spotting early signs of damage can save you from costly repairs later on and help make sure your home remains safe and comfortable throughout the whole year. Here’s a guide on how to spot early signs of roof damage before winter ends: Inspect for Ice Dams Ice dams are a common issue in Western Massachusetts, especially during winter. They form when snow melts on the warmer areas of your roof and then refreezes at the eaves, creating a barrier of ice. This can prevent water from draining properly, leading to leaks and damage in your home. How to Spot It: Look for icicles hanging from the edges of your roof. Check your attic for any signs of water stains or dampness, which could indicate melting snow has leaked through the roof. If you suspect you have an ice dam, addressing it as soon as possible is crucial to prevent further damage. A professional roofing company can help remove the ice dam and address the underlying issues. Check for Missing, Cracked, or Curling Shingles Winter storms, heavy snow, and strong winds can damage or dislodge shingles. Missing, cracked, or curling shingles can compromise the integrity of your roof and lead to leaks when it rains during the spring. How to Spot It: Inspect your roof from the ground safely. Look for any noticeable gaps or areas where shingles are missing. Check for curled edges or cracks in the shingles, which can be caused by age or exposure to the elements. If you notice any of these signs, it is best to have a roofing professional inspect your roof in person to determine whether a repair or replacement is needed. Examine the Flashing Around Chimneys and Vents Flashing is the metal material that seals joints around chimneys, vents, and skylights to prevent water from seeping underneath the roof. Winter storms, ice, and snow can weaken the flashing, causing it to loosen or crack, which can lead to leaks. How to Spot It: Safely look for any visible gaps, rust, or cracks around your chimney, vents, or skylights. If you notice any of these signs, there’s a risk that water could be getting into your home. Flashing damage is often tricky to spot from the ground, so if you suspect an issue, have a professional roofing contractor inspect the area. Inspect for Signs of Water Leaks in Your Attic or Ceiling If your roof has suffered any damage during the winter, water could be seeping into your attic or ceilings. If not addressed promptly, this can cause mold growth, insulation damage, and even structural issues. How to Spot It: Check your attic for signs of moisture, water stains, or mold. A musty odor or damp insulation can also indicate a leak. Look for ceiling stains, bubbling paint, or sagging areas indicating water infiltration inside your home. If you notice any of these signs, it is essential to address the issue immediately before it leads to more severe damage. Look for Signs of Roof Sagging A sagging roof can result from ice or snow buildup, which puts extra weight on your roof structure. If not dealt with promptly, a sagging roof could lead to more significant structural problems or even a collapse in extreme cases. How to Spot It: From the ground, look at your roofline. Does it appear to sag or dip in certain areas? If you can safely access your attic, check for signs of sagging beams or support structures. If you notice any signs of sagging, contact a roofing professional immediately to prevent further damage. Assess the Condition of Your Gutters Gutters are important in redirecting water away from your roof and foundation. During winter, gutters can become clogged with debris, ice, and snow, causing water to back up and leak into your home. How to Spot It: Inspect your gutters for visible damage, such as cracks, sagging, or loose sections. If you notice water pooling around your foundation or along your roofline, it may be a sign that your gutters are clogged or damaged. Cleaning and repairing your gutters before the end of winter can help prevent water damage as spring thaw sets in. Check for Moss or Algae Growth Moss and algae can grow on your roof, especially in shaded areas, and cause long-term damage if left unchecked. While this may not be a significant concern in the short term, it can accelerate the deterioration of shingles and underlayment over time. How to Spot It: Look for greenish or dark streaks on your roof, especially on the north-facing side, which tends to stay shaded longer. If you notice moss buildup, it’s a good idea to have your roof cleaned to prevent further damage. Winter’s harsh conditions can take a toll on your roof, but knowing what to look for can catch early signs of damage before they become bigger issues. If you notice any of the above signs or suspect your roof has sustained damage during the winter, you must call a professional roofing contractor to assess the situation. At Sexton Roofing & Siding, we specialize in roof repairs and inspections in Western Massachusetts. Our experienced team can help identify and address any issues before they escalate, ensuring your home is safe, dry, and protected for the rest of the year. Don’t wait until spring to address winter damage—call us today to schedule a roof inspection. 413-532-1234 Stay safe and dry, and keep your roof in shape with Sexton Roofing & Siding.
As energy costs continue to rise in western Massachusetts, homeowners are looking for as many ways as possible to save on their monthly bills, all while improving the comfort of their homes. One often-overlooked solution? Investing in a new roof. While a roof's primary job is to protect your home from the elements, its impact on energy efficiency is significant—and with suitable materials and installation, a new roof can drastically reduce your energy consumption. As a roofing company, we've seen how a properly installed, energy-efficient roof can significantly improve your home's temperature regulation, reduce HVAC usage, and ultimately save you money. If you're considering a roof replacement in 2025, here's how a new roof can help lower your energy bills and improve your home's overall performance. Improved Insulation: Keeping the Heat In (or Out) One of the most important roles your roof plays in energy efficiency is through its insulation. Poor insulation or an old, damaged roof can let warm air escape during winter and allow hot air to enter during summer. This forces your heating and cooling systems to work overtime, increasing energy bills. How a new roof helps : When you replace your roof, you can upgrade your insulation. Modern roofing materials can improve your home's thermal resistance, ensuring that conditioned air stays inside. This means your HVAC system doesn't have to work as hard to keep your home comfortable, ultimately reducing energy consumption. Key takeaway: Insulating your attic and sealing gaps with a new roof can help maintain a more consistent indoor temperature year-round. Reflective Roofing Materials: Keep Your Home Cool in Summer In 2025, many homeowners choose cool roofs with reflective materials that reflect more sunlight and absorb less heat. These materials are typically lighter in color and designed to reflect the sun's rays, reducing the amount of heat transferred into your home. How a new roof helps: A cool roof can significantly reduce your cooling costs during hot summer months. By keeping your attic cooler, you won't have to rely as much on your air conditioner, resulting in lower energy bills. According to the U.S. Department of Energy, installing a cool roof can reduce air conditioning costs by up to 15-20%. Key takeaway: Choosing a reflective or calm roofing option for your new roof can keep your home cooler in the summer, lowering cooling costs and reducing the strain on your AC. Energy-Efficient Roofing Materials: A Green Investment New advancements in roofing materials have made it easier for homeowners to go green and reduce their carbon footprint while saving on energy bills. Many new roofing materials come with energy-efficient coatings or properties that boost your home's aesthetics and enhance its energy performance. How a new roof helps: Materials such as metal roofs, cool shingles, and solar-reflective coatings can help reflect heat away in the summer and provide additional insulation in the winter. Metal roofing has high thermal efficiency and can reflect sunlight, while shingles with reflective granules can improve your roof's ability to maintain comfortable indoor temperatures. Key takeaway: Energy-efficient roofing materials offer long-term savings and a great way to lower energy bills and environmental impact. Sealing Leaks and Gaps: No More Air Loss Over time, your roof can develop leaks, cracks, or structural gaps that allow air to escape. This often goes unnoticed but can significantly impact your energy bills. If air leaks from your roof or attic, your home will become less energy efficient, and your HVAC system will need to run longer to maintain a comfortable temperature. How a new roof helps: A new roof installation allows for sealing any leaks or gaps in your roofing system. Whether replacing damaged shingles, re-sealing roof vents, or applying weatherproofing underlayment, these fixes can significantly affect your home's energy performance. Key takeaway: A new roof addresses air leaks and gaps that can lead to energy loss, improving your home's overall energy efficiency. Long-Term Cost Savings: Reduce Repair and Maintenance Costs A new roof isn't just an upfront investment—it's also a way to avoid the ongoing repair costs of an aging roof. If your current roof shows signs of wear and tear, such as missing shingles, sagging, or leaks, your energy efficiency is likely compromised. Older roofs also require frequent repairs to keep your home secure and energy-efficient. How a new roof helps: Replacing an old roof with a high-quality, energy-efficient option means fewer repairs over time and less need for emergency fixes. In addition, a new roof can increase the longevity of your home's insulation, attic space, and HVAC systems, all of which contribute to your home's overall energy efficiency. Key takeaway: A new roof reduces the frequency and cost of repairs while maintaining energy efficiency over the long term. Tax Incentives and Rebates for Energy-Efficient Roofs As energy efficiency becomes more pressing, many states and municipalities offer tax incentives or rebates forhomeowners who install energy-efficient upgrades, including roofs. If you replace your roof with energy-saving materials, you may be eligible for local or federal incentives that reduce your overall cost. How a new roof helps: For example, cool roofs and solar panels (when installed together) may qualify for federal tax credits, making your new roof even more affordable in the long run. Check with your roofing contractor or tax professional to explore any available incentives or rebates in your area. Key takeaway: Tax incentives and rebates for energy-efficient roofing can offset the initial cost of installation, making it a more affordable long-term investment. The Impact of Ventilation: Proper Airflow Reduces Energy Loss Proper attic ventilation plays a critical role in regulating temperature and moisture levels in your home. With adequate airflow, your attic can trap heat, making it easier for your home to stay cool in the summer. Poor ventilation can also lead to mold or mildew problems, damaged insulation, impacting your home's energy efficiency. How a new roof helps : You can upgrade or repair your attic ventilation system when you replace your roof. Adding or improving ventilation can help your home maintain a consistent temperature by allowing hot air to escape in the summer and preventing ice dams in the winter. This reduces the workload on your HVAC system and enhances overall energy efficiency. Key takeaway: Proper ventilation with a new roof improves airflow, reduces heat buildup, and enhances your home's energy performance. A New Roof = Savings in More Ways Than One. Investing in a new roof in 2025 isn't just about improving the look of your home; it's about making your home more energy-efficient and reducing your monthly energy costs. Whether upgrading to energy-efficient roofing materials, improving your insulation, or adding ventilation, a new roof can help lower your utility bills while making your home more comfortable year-round. If you're ready to explore how a new roof can help you save money and energy, Sexton Roofing & Siding is here to guide you. Our expert team can help you choose the best materials and design to meet your needs and budget, ensuring your home is as energy-efficient as possible. Contact us today for a free consultation or to schedule a roof inspection. Let's make your home more energy-efficient and budget-friendly in 2025!